Tire maintenance & safety

Tire maintenance & safety

Most of us enjoy driving, but in order to enjoy the ride, you need to make sure that your vehicle is well maintained. Understanding how to use a tire pressure gauge is crucial for maintaining tires, and by extension, vehicles. While underinflated tires can easily hydroplane, overinflated tires degrade faster. Additionally, they make it difficult to quickly stop and to control the vehicle in slippery conditions.
For the proper upkeep of your vehicle, it is crucial to check that your tires are not under- or over-inflated, and learning how to use a tire pressure gauge properly is an easy way to making sure your tires and vehicle perform as expected.

A tire-pressure gauge is used to measure the pressure in a vehicle's tires. Because tires are rated for specific loads at specific pressures, it is critical to maintain the optimal tire pressure. Tire pressure gauges come in three varieties: stick/pencil, digital, and dial.
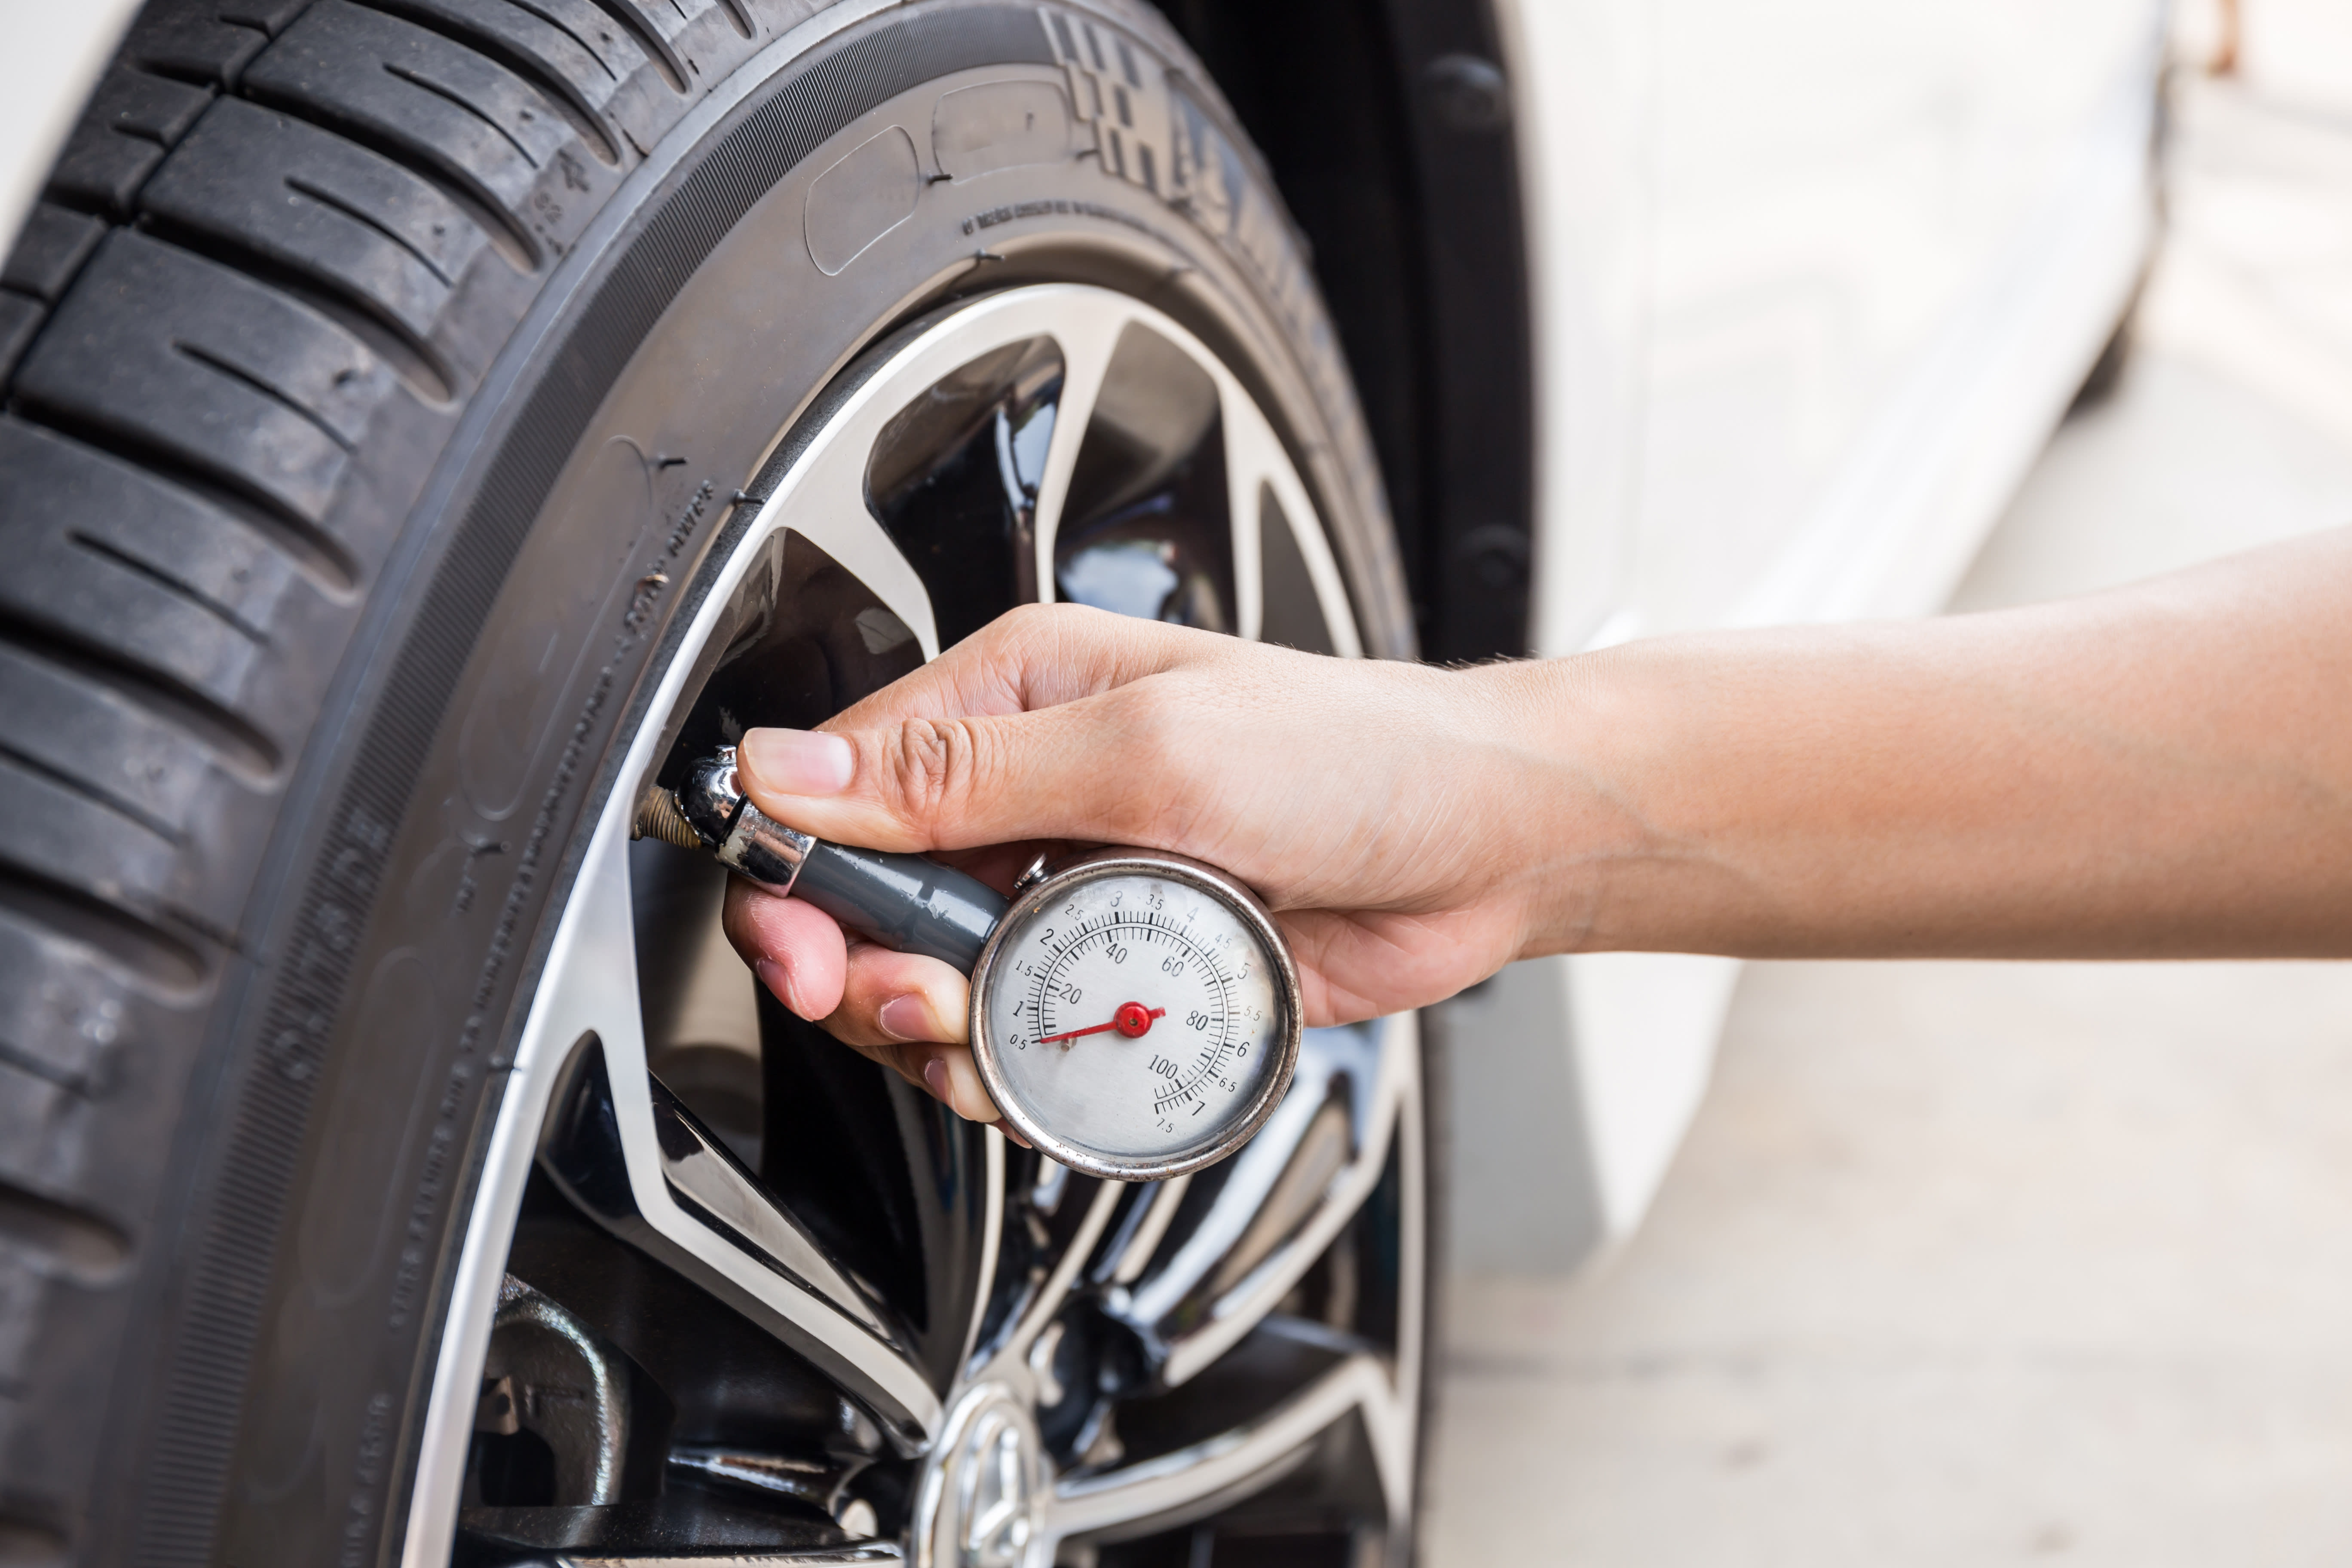
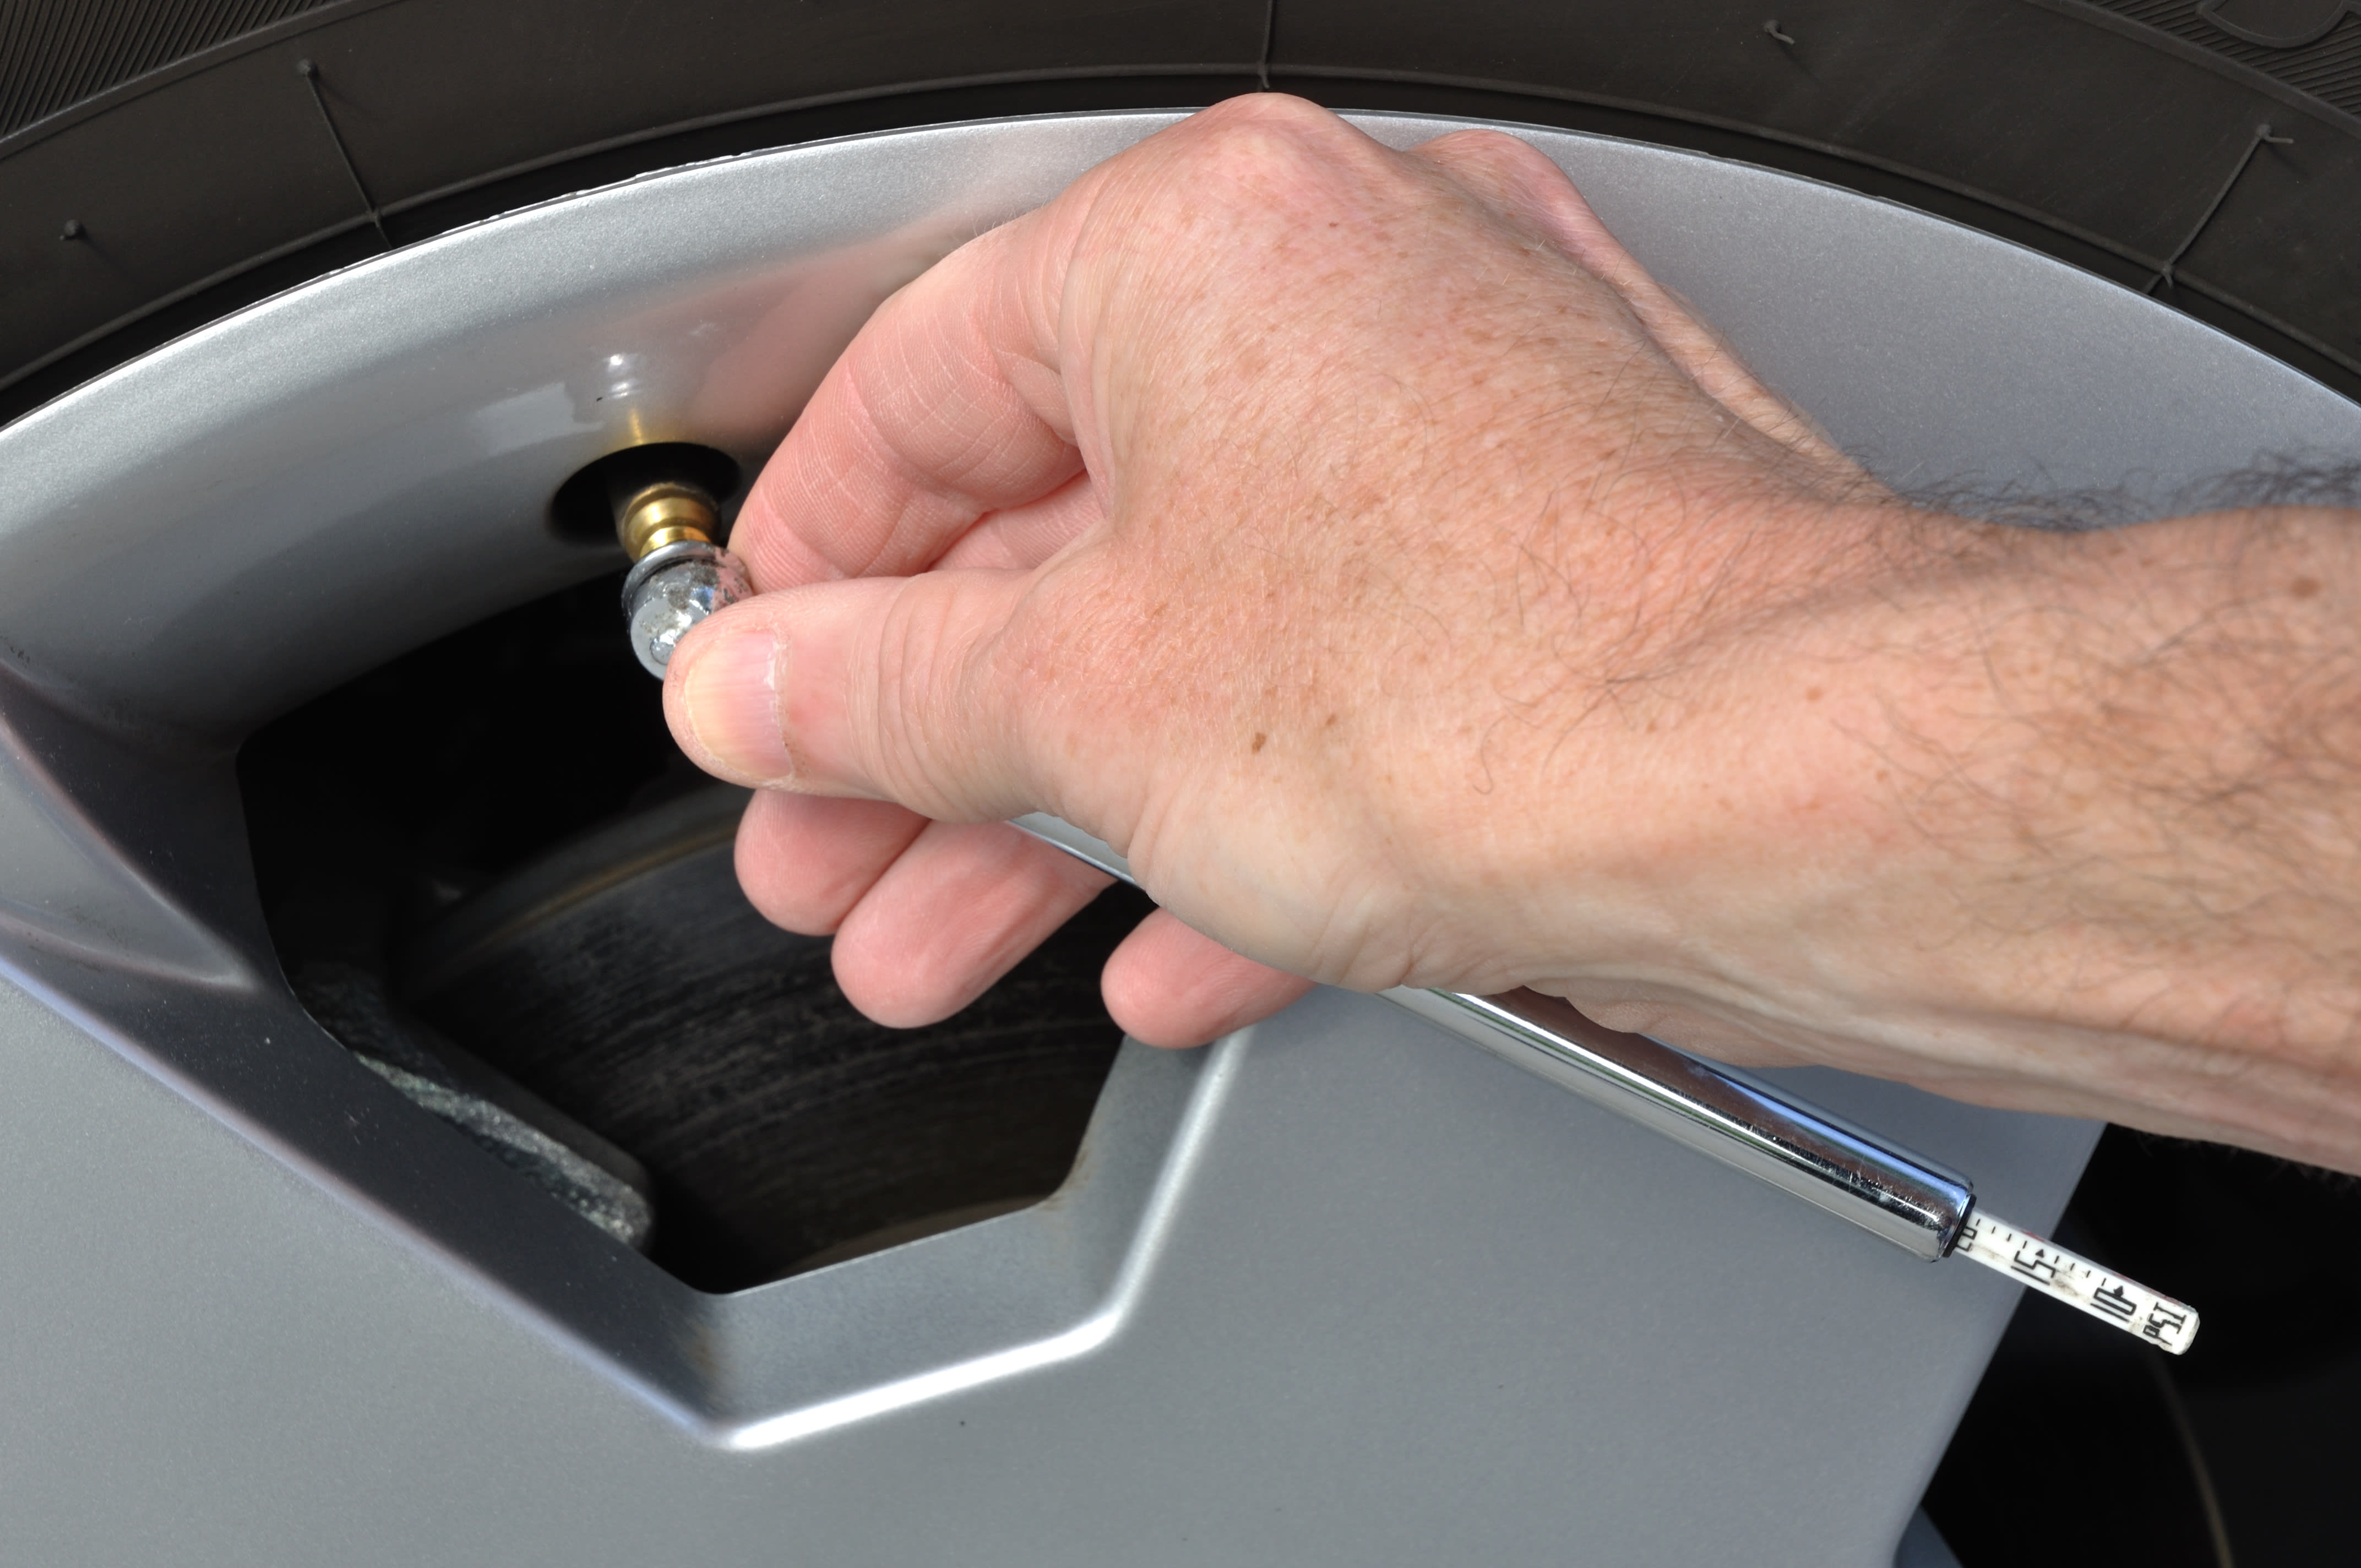
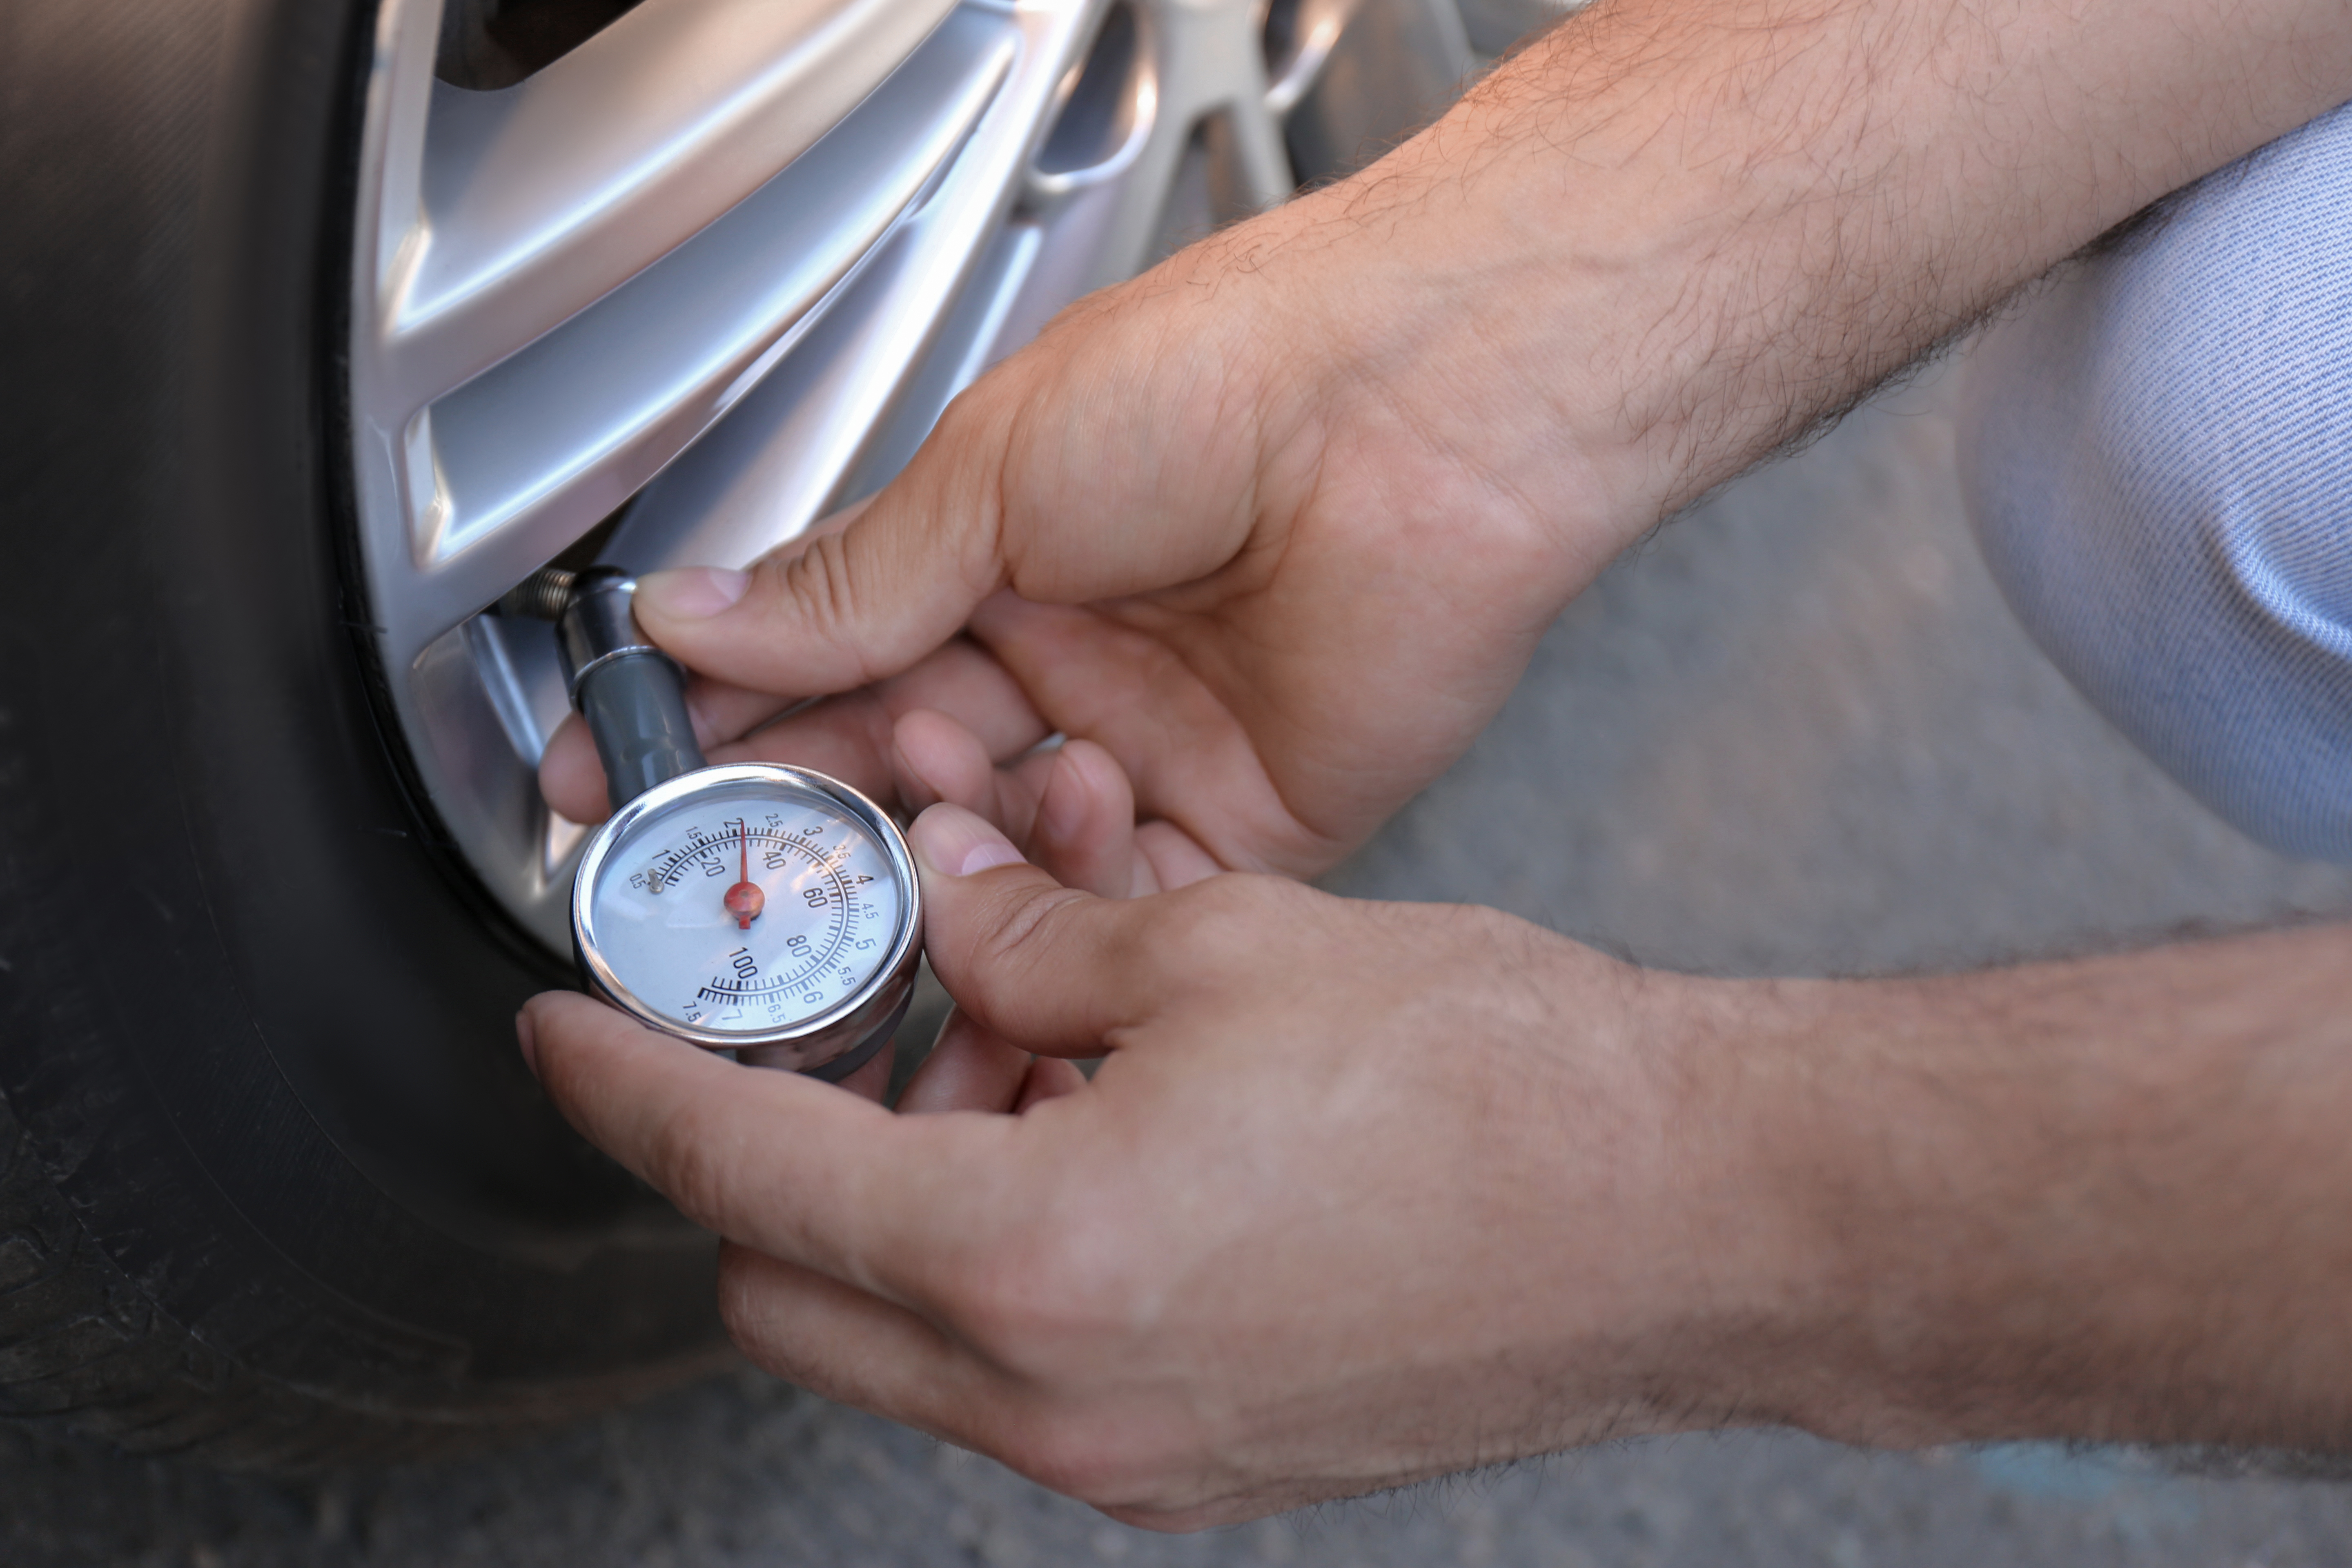
The pencil tire pressure gauge has three main parts: the stem attachment, the inner plastic measuring rod, and the metal outer shell. A dial tire pressure gauge is an analogue pressure gauge that features a dial rather than a measuring stick. A digital tire pressure gauge that is directly attached to the valve stem gives the PSI value (recommended air pressure for your tires).
Although stick type gauges resemble ball point pens, they are more difficult to read than digital gauges. Digital tire pressure gauges offer more precise readings and have an electronic display. Dial gauges have an analogue dial that resembles a clock face and a straightforward needle to show the pressure. But they may not always be more precise.
In short, digital tire pressure gauges are the best tire pressure gauges because they provide a precise reading, making them the most accurate pressure gauges.
The condition of your car’s tires has an impact on its performance. Moreover, incorrectly inflated tires or tires with insufficient pressure can cause crashes, collisions, and other accidents. To avoid placing yourself in this type of situation, it is crucial to monitor the tire pressure constantly since tires routinely lose small amounts of air pressure.
Keep your preferred tire pressure gauge in your car at all times so you can check your tires' pressure whenever you want, which will enhance your vehicle’s performance.
The majority of experienced technicians advise at least once a month you need to check your tire pressure, and always before long drives or if your vehicle is carrying heavier loads. Some drivers even elect to check their tire pressure every three to four weeks! If you check the pressure when the tires are cold, before the temperature rises and the tires are exposed to direct sunlight, you'll get a more precise reading.
As you drive, the pressure in your tires rises as they warm up so you’ll get a false reading if you check tire pressure right after a drive. If you forget to check before you drive, allowing the tires to cool down for about three hours will improve the accuracy of your reading.
In order to test tire pressure you’ll need to purchase a viable tool such as a low-pressure tire gauge. A tire pressure gauge is available at almost any auto parts store, convenience store, or gas station, and many gas stations have tire filling stations where you can add additional air to your tires if needed. If you're reading this because tire pressure gauges have previously intimidated you, then welcome! You have nothing to be concerned about. This is your step-by-step guide to the entire process.
Step 1: Before beginning to check the tire pressure, determine the manufacturer's recommended PSI for your tires, then double-check and verify. You can usually find the recommended PSI on the door jamb or door ledge on the driver's side, but you can also check your glove box, owner's manual, or even inside the console. Search for a two-digit number followed by PSI.
Step 2: Locate the tire valve once you've determined the recommended PSI and the current tire pressure. You can inflate or deflate the tire using this valve. The tire valve is a small tube with a threaded cap protruding through a gap inside of the rubber wheel. Then, carefully remove the threaded cap, taking care not to lose it.
Step 3: After removing the threaded cap, press the tire pressure gauge against the tire valve. Each tire valve has a spring-loaded valve core that closes on its own using pressure from the tire's air chamber.
Step 4: Keep the tire pressure gauge firmly in place against the open tire valve to prevent air leakage. In order to prevent hearing any hissing sound from air escaping, adjust the gauge's angle. Simply read the slide ruler on manual pen gauges, the dial on dial pressure gauges, or the digital screen on digital pressure gauges to verify the reading on the tire pressure gauge.
In the US, PSI, or pounds per square inch, is a standard unit of measurement for tire pressure, and it will be displayed on the slide ruler, dial, or screen.
Write down the current pressure for each tire after measuring the pressure so you don't forget and need to check again. Holding the tire pressure gauge against the tire valve at an angle while listening for the hiss of escaping air makes it simple to release some air from each tire if the pressure inside is too high. Check tire pressure frequently to prevent excessive air loss, and stop once the desired PSI is reached.
If the tire's pressure is too low, inflate it using an air compressor. Use the tire pressure gauge to check the PSI after inflating the tire to make sure it is now at the right level as per the manufacturer's recommendations.
Search By